Setting up Windows driver development environment
Under the pressure of the University Innovation Program, I started learning environment setup for Windows driver development. All I can say is:
- Due to the timeliness of information, it's better to refer to MSDN (even machine-translated versions) rather than relying solely on online tutorials.
Because of open-source advantages, developing drivers for Windows might not be as appealing as doing so for Linux.

Prerequisite
- Host: Windows 11.
- Disk space: At least 20GB, SSD recommended.
Steps
Install VS2022
Ensure Desktop development with C++ and MSVC v143 - VS 2022 C++ x64/x86 build tools (Latest) are ticked.
Install Windows 11 SDK & WDK for 22H2
Use default settings, proceed with installation.
Install Windows 10 on Your VM
Quite easy.
Install WDK for VM
The average download speed is 200KB/s, even though the proxy/VPN is turned on. Time for touching fish.
Run the WDK Test Target Setup
Easy, search for WDK Test Target Setup x64-x64_en-us.msi. Copy and paste.
Ensure Host & Guest Can Ping Each Other
If you are using VMware, it is recommended to use NAT mode. In this setup, the host IP corresponds to the vmnet8 adapter when running ipconfig, while the guest IP is the sole IPv4 address displayed when running ipconfig within the guest system. Typically, both will reside within the same network segment (i.e., the first three sets of digits will match).
Write & Build Your First Driver
Create a project
Follow steps from MSDN directly.
write a sample code
- because inline asm is deprecated on x64 platform, we use this tutorial instead: https://exp-blog.com/re/qu-dong-kai-fa-ru-men-2/#toc-heading-19
Driver.c
// https://bbs.kanxue.com/thread-254041.htm
#include <ntddk.h>
#include "Header.h"

VOID DriverUnload(PDRIVER_OBJECT driver)
{
    DbgPrint("first: Our driver is unloading…\r\n");
}

NTSTATUS DriverEntry(PDRIVER_OBJECT driver, PUNICODE_STRING reg_path)
{
#if DBG
    int_3();
#endif

    DbgPrint("first: Hello world!\r\n");

    driver->DriverUnload = DriverUnload;

    return STATUS_SUCCESS;
}
fun.asm
.CODE

int_3 PROC
	int 3
	ret
int_3 ENDP

END
Header.h
#pragma once
void int_3(void);
Build Project
Before compiling the program, you also need to set the project properties:
-
Right-click → Properties → C/C++
- Set warning level to Level 3 (/W3)
- Change "Treat Warnings as Errors" to No (/WX-)
- Code Generation → Security Checks → Disable Security Checks (/GS-)
- Code Generation → Spectre Mitigation → Disabled
-
Right-click → Properties → Linker
- Set "Treat Linker Warnings as Errors" to No (/WX:NO)
-
Right-click → Properties → Driver Settings
- Change Target OS Version to Windows 10 or higher
- Change Target Platform to Desktop
-
Right-click → Properties → Inf2Cat
- Change "Use Local Time" to Yes (/uselocaltime)
Provision Test Computer
Navigate to: Extensions > Driver > Test > Configure Devices > Add a new device
Enter the IP address of your test computer as the host name and select Provision device and choose debugger settings
On the next page, choose Network. The Host IP should be the IP address of the host computer (vmnet8).
Wait for the provisioning process to complete. Note that the TAEF service may fail to install; this can be safely ignored.
Install the Driver
Just follow the MSDN guide:
Debug the driver
Here are two ways:
Using WinDbg/WinDbg Preview (More Steps)
-
If the deploy process (right-click your project > Deploy) is successful, your driver will be placed in the system drive of your test computer. Otherwise, you need to copy the output file from your host computer to the test computer.
-
Download
INSTDRV.EXEand copy it to your test computer. -
Open
INSTDRV.EXEas Administrator. Then, open your WinDbg/WinDbg Preview and attach the kernel as described in the Provision Test Computer section. -
Create a snapshot in your VM. (IMPORTANT)
-
First, install the driver
kmdfHelloWorld.sys, then start it. If everything works correctly, your WinDbg instance will eventually pause atfun.asm. You can restore to your snapshot if something undesirable occurs (e.g., a blue screen).
Using VS2022 (Not Always Reliable)
- Restore to your (successfully configured) snapshot.
- Right-click Properties > Configuration Properties > Debugging > Debugger to launch > Kernel Debugger
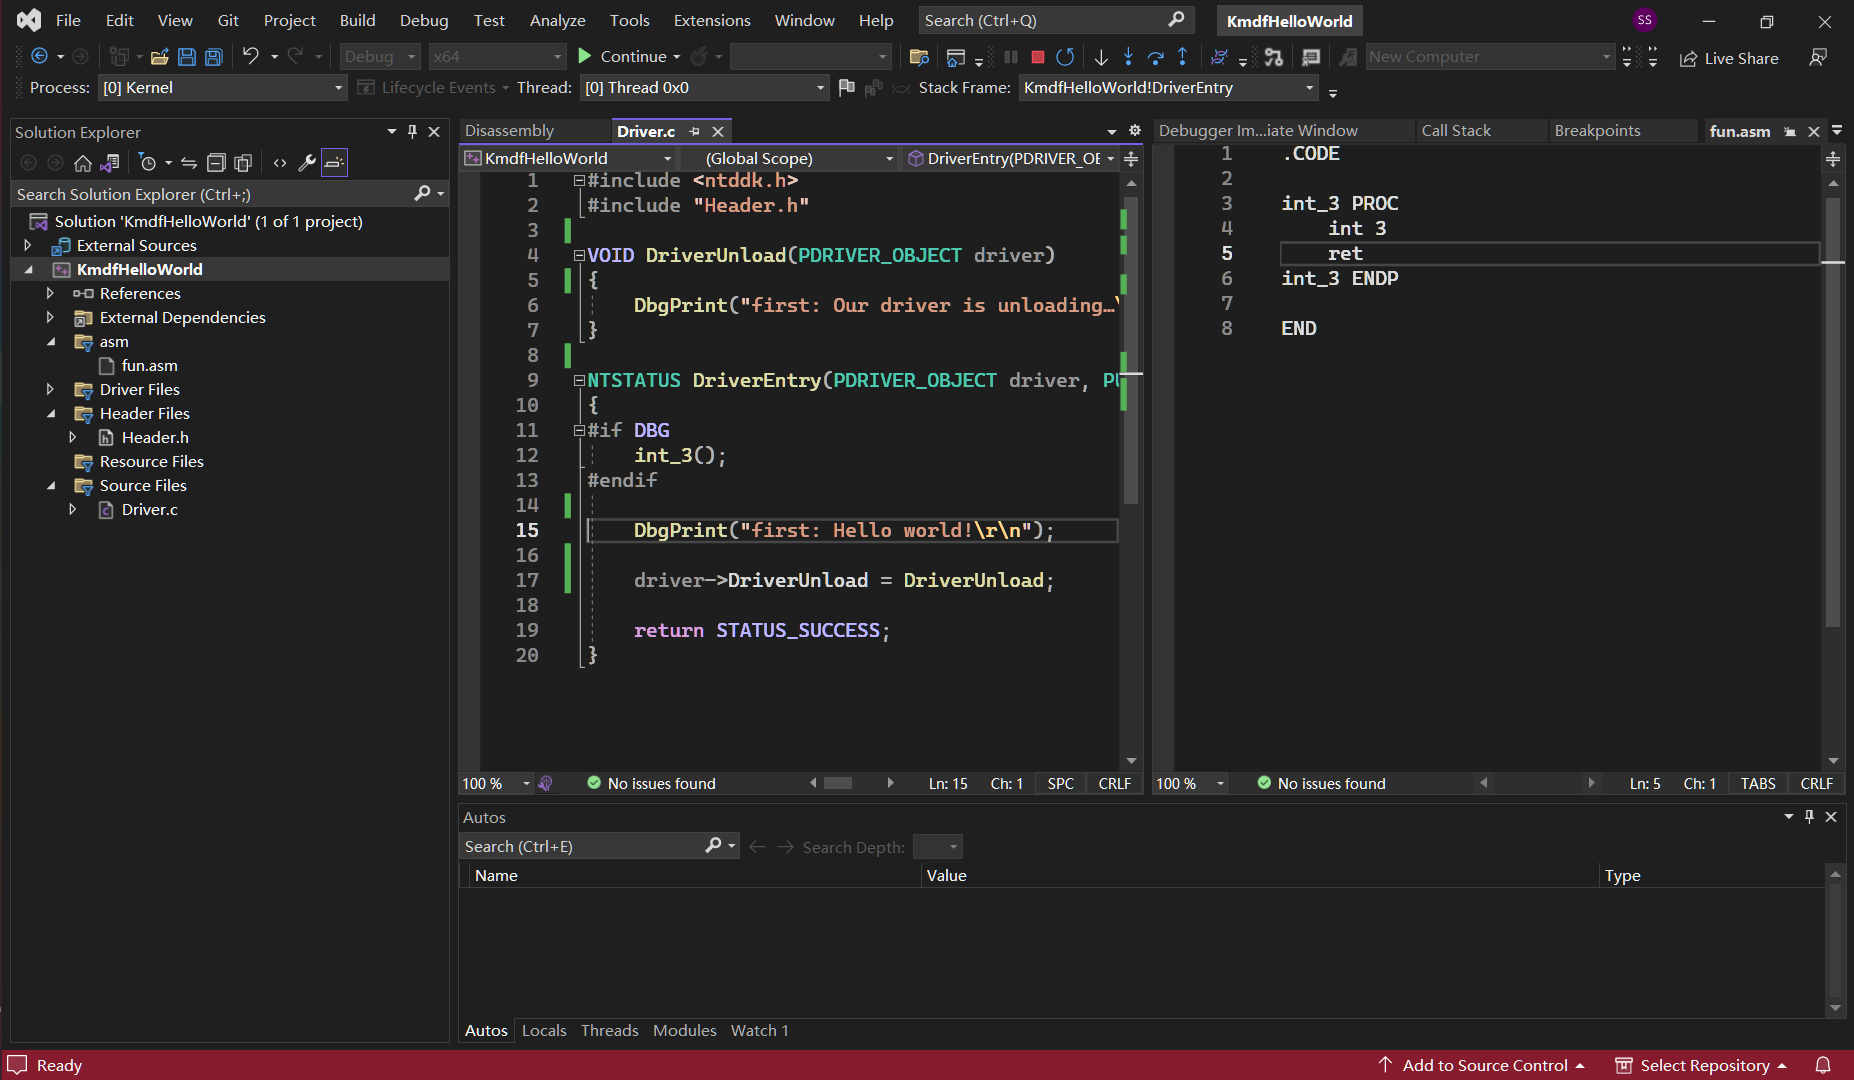
- Press F5. If everything works, your VS2022 instance will eventually stop at
fun.asm, but there will be no highlights during debugging, as shown in the image placed in the preface.